


Need estimation?
Leave your contacts and get clear and realistic estimations in the next 24 hours.
Thank you! Your submission has been received!
Oops! Something went wrong while submitting the form.

Table of contentS
The efficiency, ease, and reliability of your checkout system can significantly impact your application's success. Whether you're developing a brand-new e-commerce platform or seeking to enhance an existing one, understanding how to implement a seamless and user-friendly checkout experience is paramount.
This blog post serves as your comprehensive guide to implementing a checkout process that converts visitors into loyal customers and ensures a hassle-free and secure payment process.
We'll explore the key components and best practices in checkout integration, equipping you with the knowledge and tools to elevate your application's performance and user satisfaction. Let’s dive in!
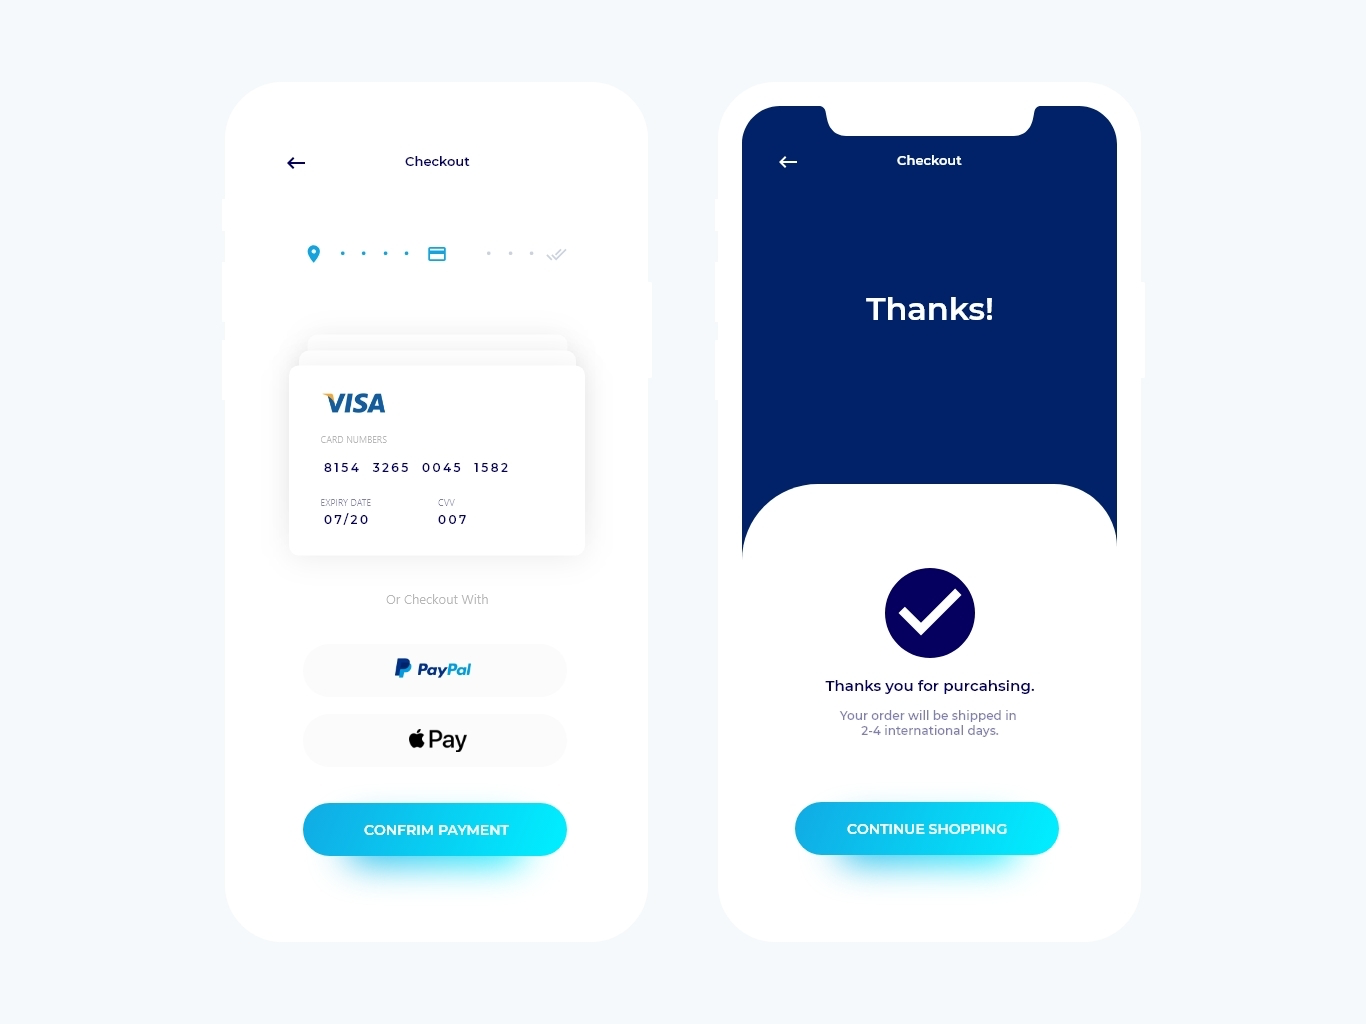
Checkout in the context of your application refers to the final step in an online transaction, where a user confirms their purchase and completes the payment process. It is the culmination of their journey from product selection to making a payment, and it plays a pivotal role in the overall user experience and the success of your application.
There are different ways of implementing checkout into your application. One of the ways is the integration of a payment provider such as Vipps, Stripe, Adyen, etc.
The integration and interaction with these providers may differ, but almost all of them have a similar concept of processing payment methods and processing transactions.
In our example, we will consider the integration with Stripe:
Stripe is a suite of APIs powering online payment processing and commerce solutions for internet businesses of all sizes.
The first thing you need to do is to create an account in Stripe. After registration, you will have access to a test account and an api key for integration with this provider.
Libraries and tools for interacting with your Stripe integration.
Working with SDK will allow you to reduce development time and integrate this payment provider into your app.
Stripe API for Java
To interact with Stripe, add a maven dependency to your pom:
<dependency>
   <groupId>com.stripe</groupId>
   <artifactId>stripe-java</artifactId>
   <version>${version.stripe-java}</version>
</dependency>
SetupIntent
Use the Setup Intents API to set up a payment method for future payments. It’s similar to a payment, but no charge is created.
You need to create the possibility of adding customers.
Customers as an object represent a customer of your business. Use it to create recurring charges and track payments that belong to the same customer.
public String createCustomer() throws ServiceException {
   try {
       return Customer.create(CustomerCreateParams.builder().build())
               .getId();
   } catch (StripeException e) {
       LOG.error("Error during creating customer:'{}'.", e.getMessage());
       throw processStripeException(e);
   }
}
This method returns a customer from Stripe, which must be stored in your system to identify and execute transactions and manipulate payment methods for this customer
After creating a customer on the Stripe side, we can add, delete, or change the payment methods of this customer
Payment method represents your customer's payment instruments. You can use them with PaymentIntents to collect payments or save them to Customer objects to store instrument details for future payments.
Create an intent to add a payment method (bank card) and return a client_secret, which the frontend developers will then need for further processing, as well as an intentId
client_secret - The client secret of this PaymentIntent. Used for client-side retrieval using a publishable key. The client secret can be used to complete a payment from your frontend. It should not be stored, logged, or exposed to anyone other than the customer. Ensure you have TLS enabled on any page that includes the client secret.
public SetupIntent createIntent(String customerId) throws ServiceException {
   try {
       return SetupIntent.create(SetupIntentCreateParams.builder()
               .setCustomer(customerId)
               .build());
   } catch (StripeException e) {
       LOG.error("Error during creating intent:'{}'.", e.getMessage());
       throw processStripeException(e);
   }
}
After we have created the intention and the frontend has successfully processed the addition of the payment method, it returns the payment_method_id, which we validate, and if this process is successful, we store it in our system
payment_method_id - ID of the payment method used with this SetupIntent.
public String confirmIntent(String intentId, String paymentMethodId) throws ServiceException {
   try {
       var setupIntent = SetupIntent.retrieve(intentId);
   } catch (StripeException e) {
       LOG.error("Error during confirming intent:'{}'.", e.getMessage());
       throw processStripeException(e);
   }
}
In setupIntent we call the get dependency status method if the response is one of “requires_payment_method” or “requires_confirmation”. Then you need to do additional actions on the client side; if “succeeded, “ the payment method was added successfully. Otherwise, one of the errors occurred when adding.
You can also delete and change payment methods.
PaymentIntent
Use the Payment Intents API to build an integration that can handle complex payment flows with a status that changes over the PaymentIntent’s lifecycle. It tracks a payment from creation through checkout and triggers additional authentication steps when required.
When creating a payment intent, you need to specify the currency, amount, customer, payment capture configuration, and the flag that you are using SDK, and you can specify the metadata that will be returned from processing the transaction.
public PaymentIntent makePayment() throws ServiceException {
   try {
       return PaymentIntent.create(
               PaymentIntentCreateParams.builder()
                       .setCurrency(“CURRENCY”)
                       .setAmount(AMOUNT)
                 .setCustomer(“customerId”)
                 .setSetupFutureUsage(
               PaymentIntentCreateParams.SetupFutureUsage.OFF_SESSION)
                       .setCaptureMethod(CaptureMethod.AUTOMATIC)
                       .putMetadata(“METADATA KEY”, “DATA”)
                       .setUseStripeSdk(true)
                       .build());
   } catch (StripeException e) {
       LOG.error("Error during making a payment:'{}'.",e.getMessage());
       throw processStripeException(e);
   }
}
If a payment method for a specific customer has already been created in your system, you can add .setPaymentMethod(paymentMethodId). For example, this will allow you not to enter the card a second time in our system.
You need to get the status from the payment intent, payment_intent_id, and process it according to your requirements, but if the status requires_action, requires_confirmation, or requires_payment_method, then you need to get the secret key and send it to the frontend for further processing or 3ds confirmation.
By payment_intent_id, we get the result of the processed transaction and validate it.
public PaymentIntent getConfirmedPayment(String paymentIntentId) throws ServiceException {
   try {
       var paymentIntent = PaymentIntent.retrieve(paymentIntentId);
	 //todo something
   } catch (StripeException e) {
       LOG.error("Error during getting a payment:'{}'.", e.getMessage());
       throw processStripeException(e);
   }
}
If the request was successful, then get payment_method_id from the payment intent and save it to your system.
Webhook
To enable webhook events, you need to register webhook endpoints. After you register them, Stripe can push real-time event data to your application’s webhook endpoint when events happen in your Stripe account. Stripe uses HTTPS to send webhook events to your app as a JSON payload that includes an Event object.
Add an endpoint in the system, specify the route, and enter it on the Stripe dashboard.
Alternative
In this example, interaction with the SDK was considered, which is the most convenient way to integrate with Stripe, but you can also use normal http requests to process transactions and payment methods.
It is advisable to avoid saving CVC, full card number, and expiration date. If there is a need to save this data, then encrypt it for the database.
Usually, payment providers provide certain identifiers such as customerId, intentId, paymentIntentId for interacting with the system and processing transactions.
Our estimations
Axon takes pride in offering cutting-edge solutions and services underpinned by agile project management methodologies. We recognize the paramount significance of precise estimations in meeting client expectations and project deadlines.
Our approach to estimations revolves around close collaboration with our clients. We understand that every project is unique, and client preferences play a crucial role in defining the scope and scale of software development initiatives. By actively engaging with our clients, we gain deep insights into their specific requirements, priorities, and budgetary constraints. Leave your contacts, and we will provide you with estimations in 24 hours.
Our experience
At Axon, we deliver a seamless and secure checkout experience for our clients and their customers. We understand that one size doesn't fit all. We'll work closely with you to tailor a checkout solution that aligns perfectly with your application's unique requirements and user experience goals.
As your application grows, so should your checkout system. We design our solutions with scalability in mind, allowing you to seamlessly handle increased transaction volumes without a hitch.
Our team
Throughout the software engineering process, our team has demonstrated a well-established track record of collaboration and professionalism when working with our esteemed partners.
Our team's agility enables us to embrace change and tackle complex challenges with confidence. We approach each project with a flexible mindset, tailoring our methodologies to suit the unique requirements and goals of our clients. Through agile project management, we ensure that our solutions are scalable, maintainable, and adaptable to future needs.
To sum it up, implementing a checkout system is a flexible and project-specific endeavor. While there's no universal solution, payment providers significantly ease the development process, and the core principles of dealing with payment methods are largely consistent across providers. Stay adaptable, leverage the resources offered by payment providers, and simplify your checkout integration.
Don't hesitate to reach out to our team of dedicated professionals.
Start by selecting a reliable payment gateway, then integrate it with your app’s backend. Ensure the checkout flow is simple, supports multiple payment methods, and includes secure data handling. Testing and optimizing for speed and user experience are also crucial.
Keep the checkout steps minimal, allowing guest checkout without mandatory account creation. Use autofill options for forms and offer popular payment options, such as credit cards, digital wallets, or buy-now-pay-later services.
Use SSL encryption, comply with PCI-DSS standards, tokenize sensitive payment data, and implement fraud detection tools. Ensuring transparent privacy policies and clear communication about security builds user trust.
Free product discovery workshop to clarify your software idea, define requirements, and outline the scope of work. Request for free now.


[1]

Head of Engineering

Head of Java Chapter

Head of Mobile Chapter

Head of Front-End Chapter

Business Development Manager
Leave your contacts and get clear and realistic estimations in the next 24 hours.